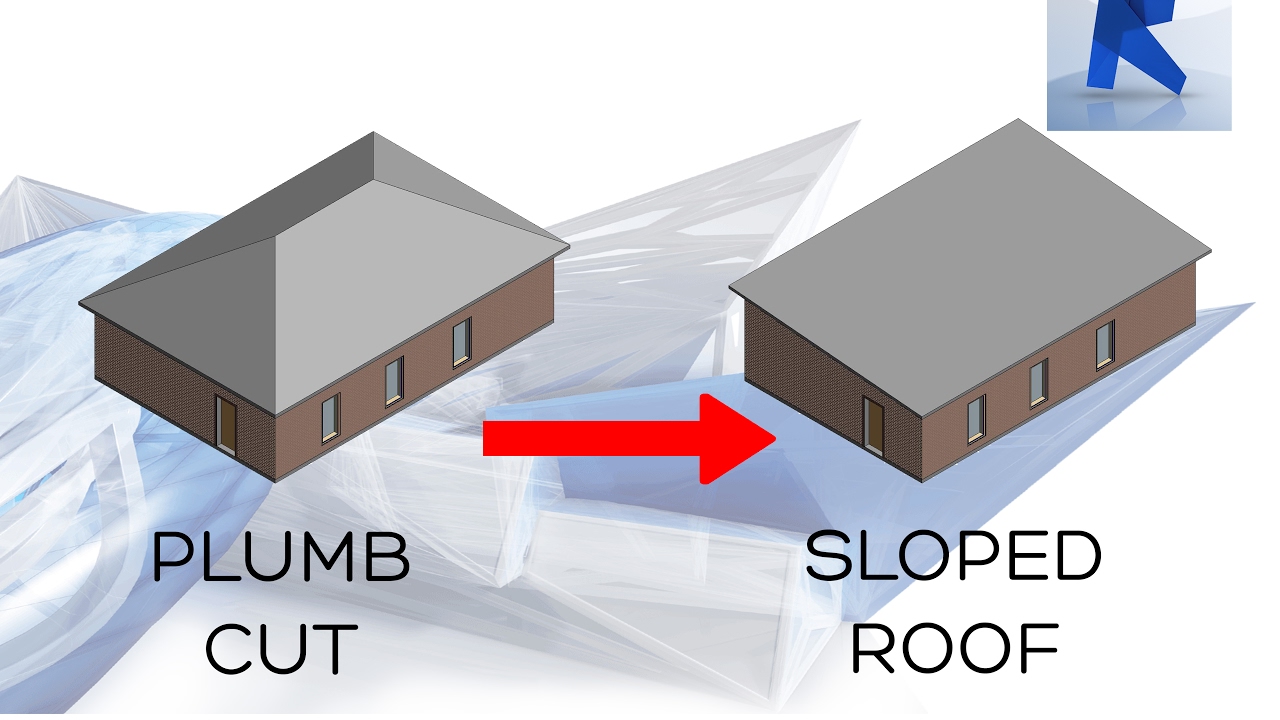
Make A Two Slope Roof Revit

Revit Roof Basics 10 Slope Arrow Cadclips Youtube
Revit 2017 Sloped Roof Create A Sloped Roof Easy Youtube

Revit Tutorials Roofs Youtube

Revit Roof Tip 2 Activate Slope To Create Sloped Roof Youtube

9 Tips To Understand Revit Roofs Revit Pure
.png)
Solved Roof That Slopes In 2 Directions Autodesk Community Revit Products

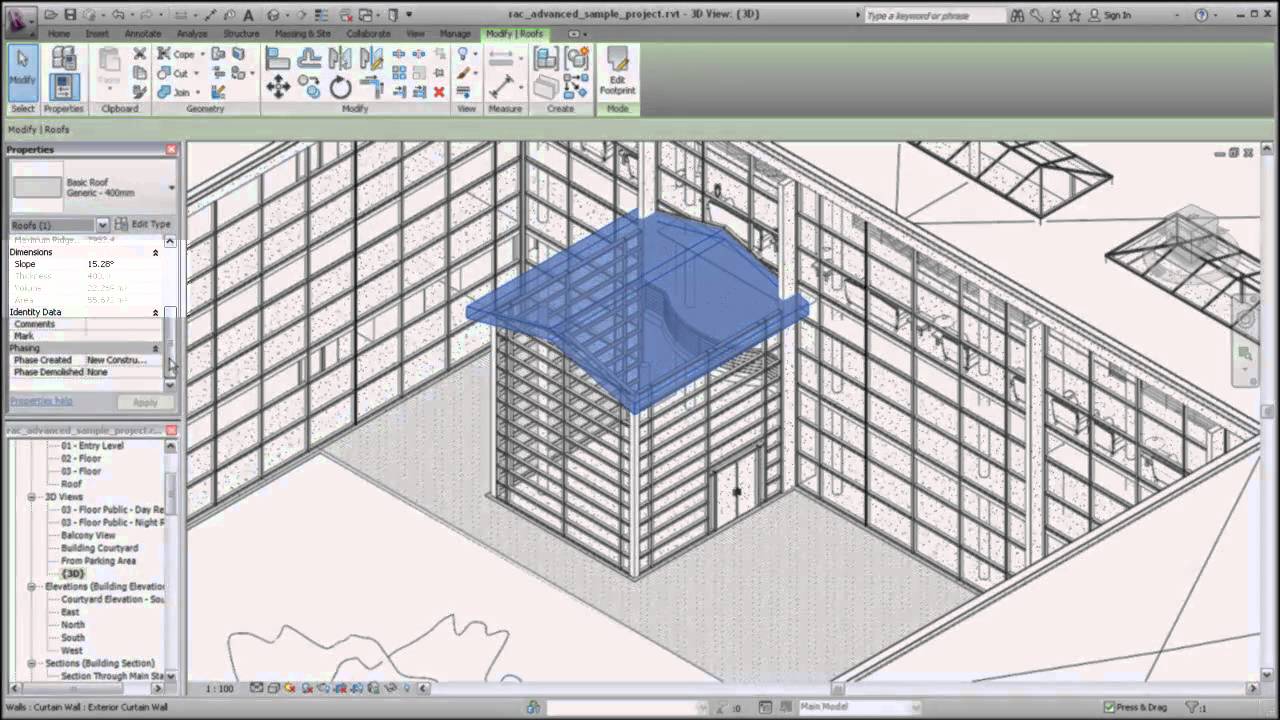
This shape editing tools will not appear if you define the roof slope.
Make a two slope roof revit.

8 Tips To Create Sloped Roofs In Revit Revit Pure Roofing Glass Roof Roof Shapes

Revit Roof Basics 04 Intersect By Roof Join Cadclips Youtube

Split Gable Roof Autodesk Community Revit Products

Solved Slope On Roof Created On Mass Face Autodesk Community Revit Products

Roof Cutoff Level Youtube
Autodesk Revit Architecture Creating A Sloped Roof Youtube

Adding A Roof In Revit Youtube
Varying Slope Hipped Roof

Solved Roof Cutoff Not Cutting Off Autodesk Community Revit Products

Revit Roof Tip 9 Join Roofs Add Opening To Create Dormer Youtube

A Hip Roof In Revit Architecture Youtube

Creating Sloped Beam In Revit Revit Lt Youtube

Create A Roof Slope Using Slope Arrows Revit Products 2018 Autodesk Knowledge Network

Create Parts From Roof Bug Autodesk Community Revit Products
Video Shape Editing Roof And Floor Slabs Revit Products 2018 Autodesk Knowledge Network

Solved Best Practice For Tapered Roof Or Floor Autodesk Community Revit Products

Creating Complex Roof In Revit Architecture Hip Roofs Youtube

Solved Horizonzal Slope Joint Autodesk Community Revit Products
Https Encrypted Tbn0 Gstatic Com Images Q Tbn 3aand9gcqt Jag1pa Hofhz 59fqg8i0feamtfelr0xlmsrdq6chiqvxbg Usqp Cau

How To Create A Thatch Roof In Revit Micrographics

Revitcity Com How Do I Create A Roof Cricket

Revit Sloped Beam System Cadclip Youtube

Cannot Create Parts For Roof In Revit Autodesk Community Revit Products

Solved Roof Wall Join One Side Roof Misses Autodesk Community Revit Products
Source : pinterest.com
